Customer Hierarchy
The ability to limit one’s views of the application (number of assets) based on specific sectors of their company.
The Problem
We have some really large, international companies that use VisionLink. As a result, sometimes they have well over 15,000 assets (machines) in our system. Not only does this slow down the performance of our applications, but it makes it really difficult for someone concerned with one area of the company (ie North East division) to focus only on the assets within that area.
We have filters, we have sorting… How can we limit this scope even further, based on the unique structure of a company?
Process Step 1: Discovery
-

Interviews
I facilitated interviews with people in varied personas in about 10 of our largest companies. We asked them the structure of their company, if they had any existing ERP systems they utilized, what their expectations and use cases would be for limiting their asset population, etc.
We recorded all of these interviews and documented them into empathy maps.
-

Define
From these meetings and the documentation, the PO and I were able to extract several features we thought were useful.
-

Research
I put together design briefs for all of these features and scoured the internet for any examples I could find of hierarchy structures.
I drew inspiration from workday, google drive, apple, and any other kind of hierarchy, regardless of if it was people or files.
Please see this link for a full research brief.
Full list of features
This is a full list of all of the features we uncovered, along with the discovery work we had done (empathy maps, etc).
Process Step 2: Design
-

Work Flows
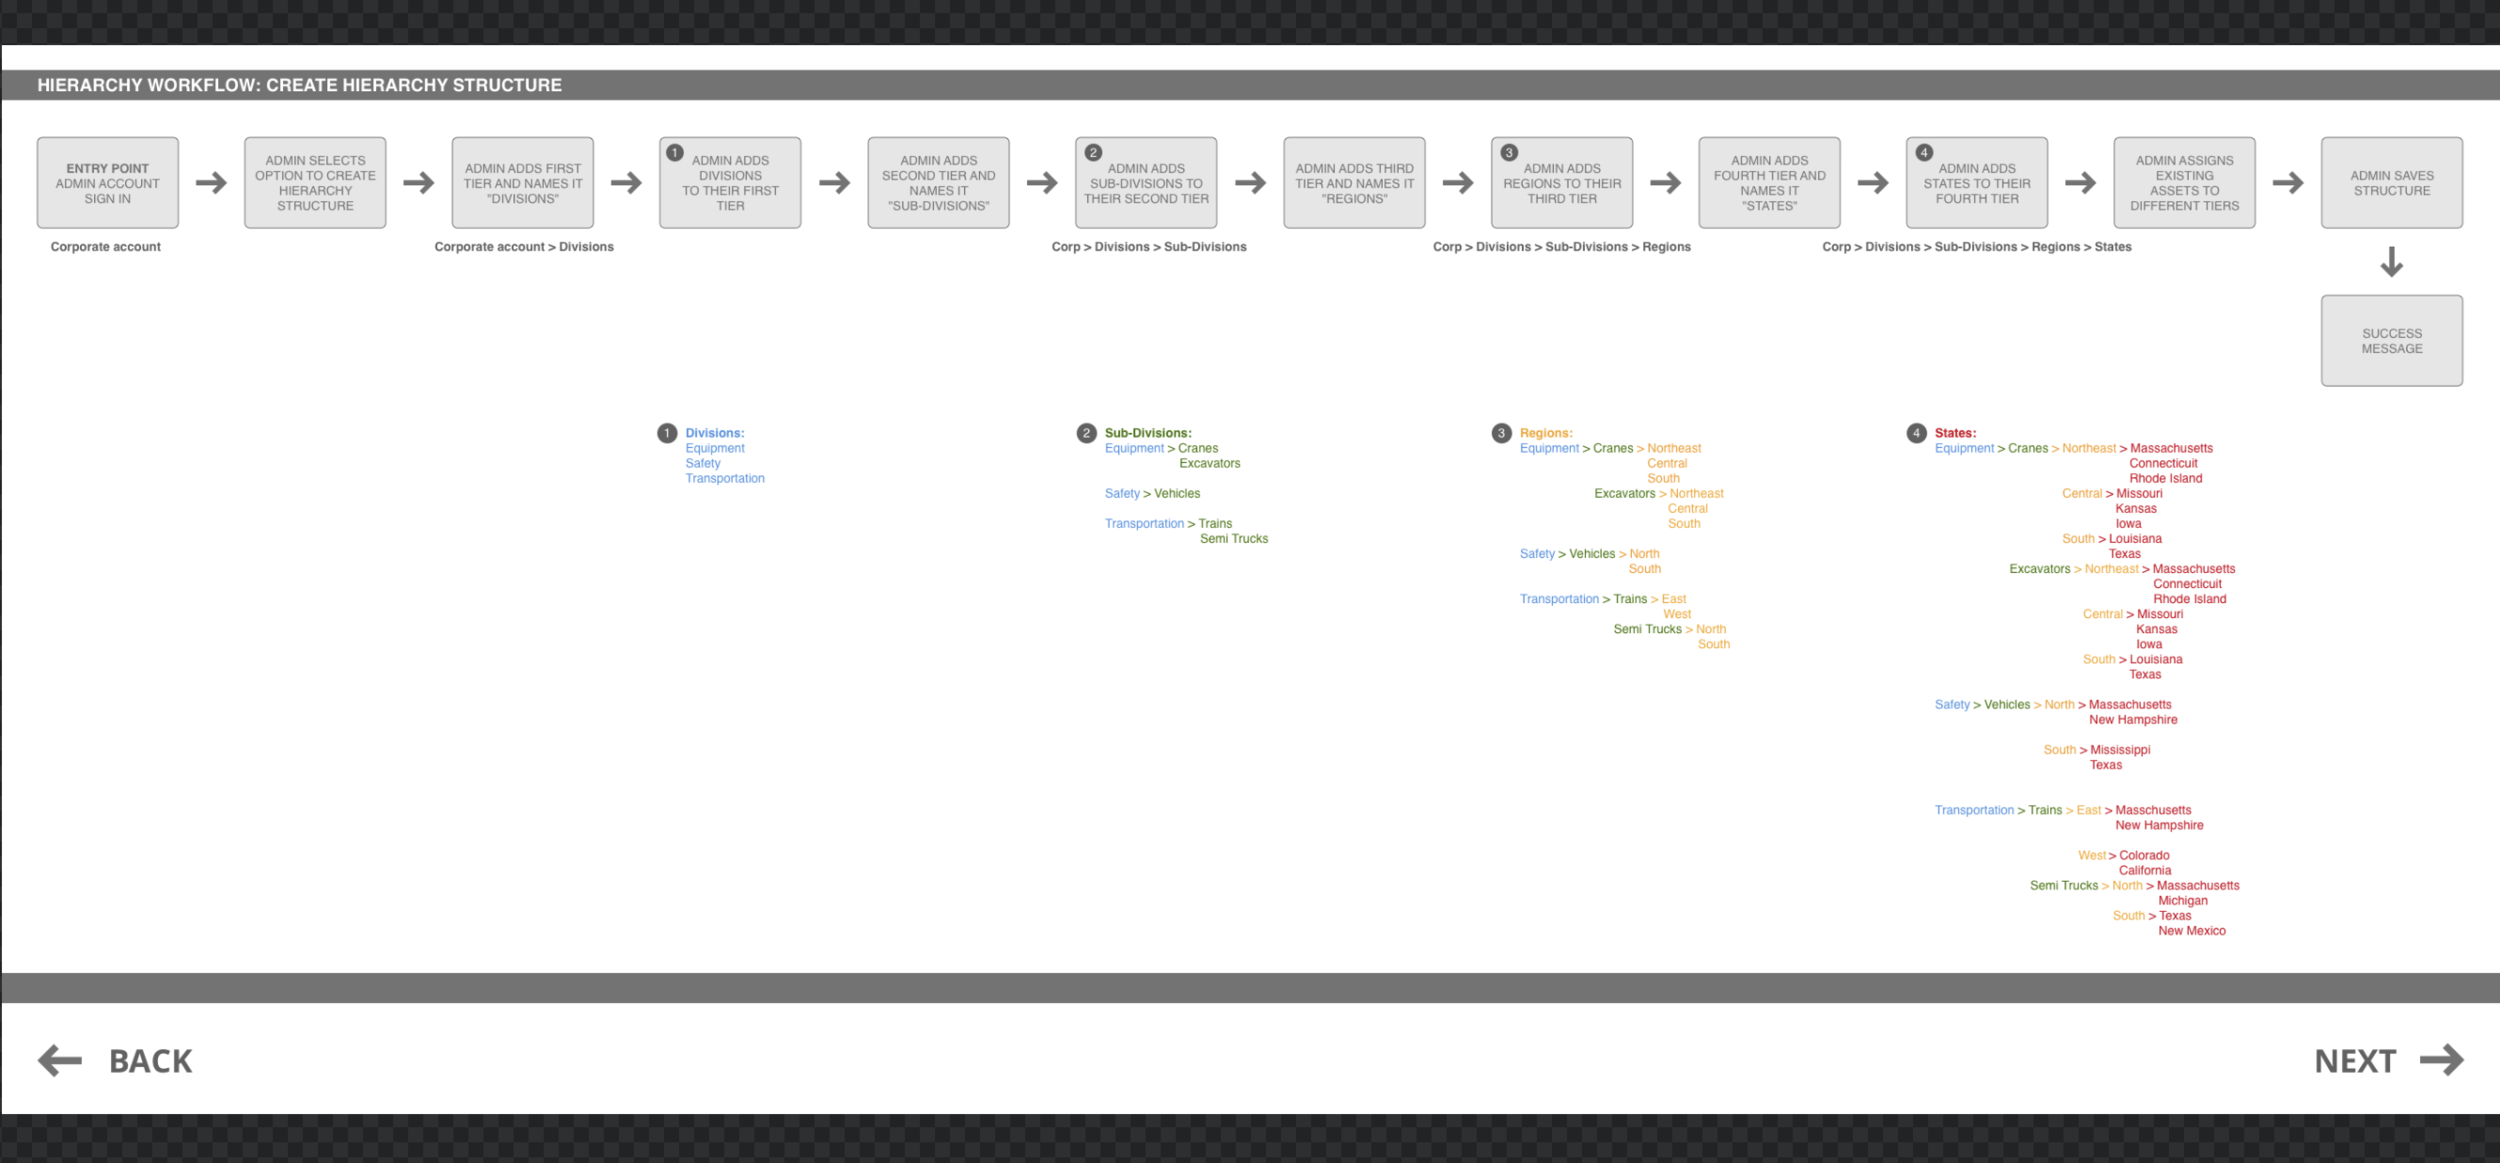
I took each feature one by one and mapped out the workflows/user journeys. I then validated these concepts with internal stakeholders and engineering before proceeding with a design.
-

Low Fi
I then came up with some basic low-fi designs to present to the stakeholders. I wanted them to focus on the use cases and not the design here, so I included no design system elements. I illustrated both the company structures we were aiming to capture and the simple workflows of the features.
-

High Fi
Then, utilizing our design system I created full workflows for each feature. I then validated these again internally and created empathy maps. After another round of iteration, I fixed up the workflows and screens, presented them to engineering for approval, and created presentations and prototypes to give to the users for validation and testing.

Process Step 3: Testing
I used Maze and sent the link to both customers we previously interviewed and people we had hired through the site. It tested positively, so we took notes on where we could iterate in the future and some ideas for new features.
Process Step 4: Handoff
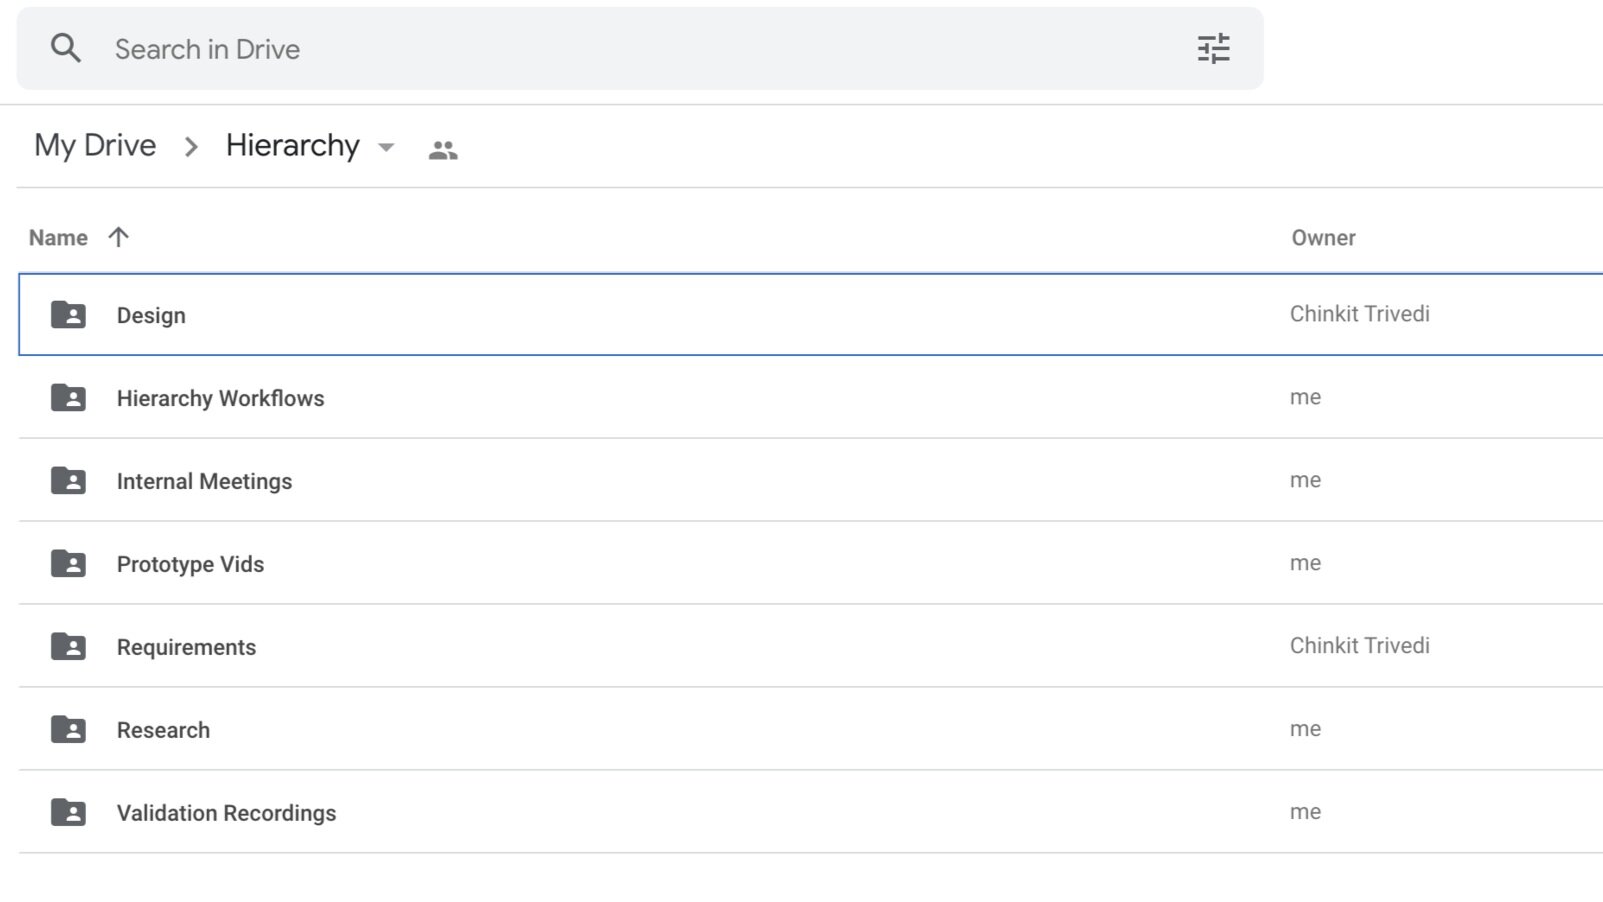
I packaged everything up and handed off all of the research, validation, and workflows to the devs. We had 2 walkthroughs that we recorded per feature. 1 to walk through the workflow, and 1 to walk through the research that went into it so that everyone on the team could feel the empathy for the user and understand why we were building such a robust piece. This folder has everything inside of it creating one source of truth, but also allowing us to save our work in a digestible format to use later if we decide to revise any features, etc. I also did full prototypes and recording to hand those off to the development team.

Prototypes
I personally like to record screen videos of the prototypes. It’s nice to send a prototype to a developer to play around with, but making a video clarifies the workflows that are intended.


